Android Studio/IntelliJ Idea side by side working setup
- 5 minutes read - 896 wordsThe way I prefer to work when I use Android Studio or IntelliJ Idea is splitting the production code and the related tests side-by-side. In this article I’d like to describe the setup and the shortcuts I use, so someone might find it useful as well.
The side-by-side setup (vertical editor splitting)

Side by side editor
We aim to use keyboard shortcuts for fast split and navigation instead of using mouse/trackpad. Keeping our hands on the keyboard leads to less destruction and better focus.
Keyboard shortcuts setup
In this article, I iterate over a bunch of keyboard shortcuts using the Mac keyboard. If you happen to have a different keyboard layout, you will have to use the Ctrl button instead of the ⌘ button, and the Alt button instead of the ⌥ button.
To begin with, we need to set up a few shortcuts. Open the IDE preferences by pressing ⌘,
(Cmd+Comma) and then select the Keymap section in the menu on the left side.

Editor Preferences
Move Right (Split Vertically)
In the search box type move right. Depending on the IDE version it might show multiple results. The one we need is Main menu -> Window -> Editor Tabs -> Move Right. Double click on it and apply the preferred shortcut. In my case I use ⌥⇧. (Option + Shift + Dot).
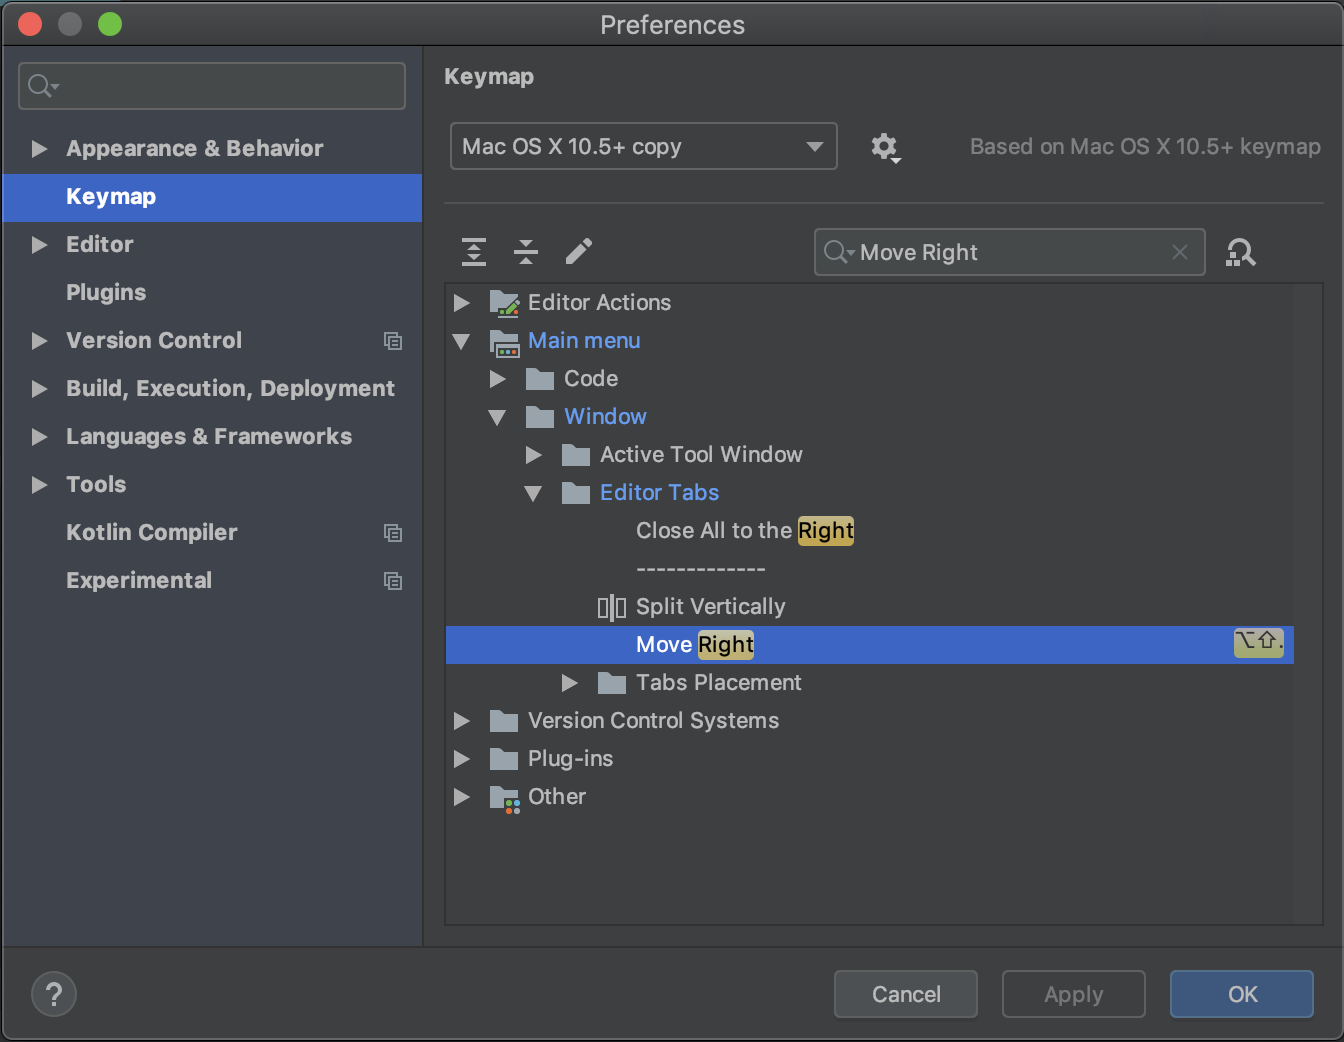
Move right shortcut
We will use this shortcut to move the currently editing file in the editor to the right side. It will effectively split the editor vertically.
Move to the opposite group
Next, we need to set up a shortcut for moving the currently editing file from one to another side. In the search box type move to opposite group. The item we need this time is placed under Other -> Tabs -> Move To Opposite Group. Double click on it and apply your desired shortcut. In my case I use ⌥. (Option + Dot).
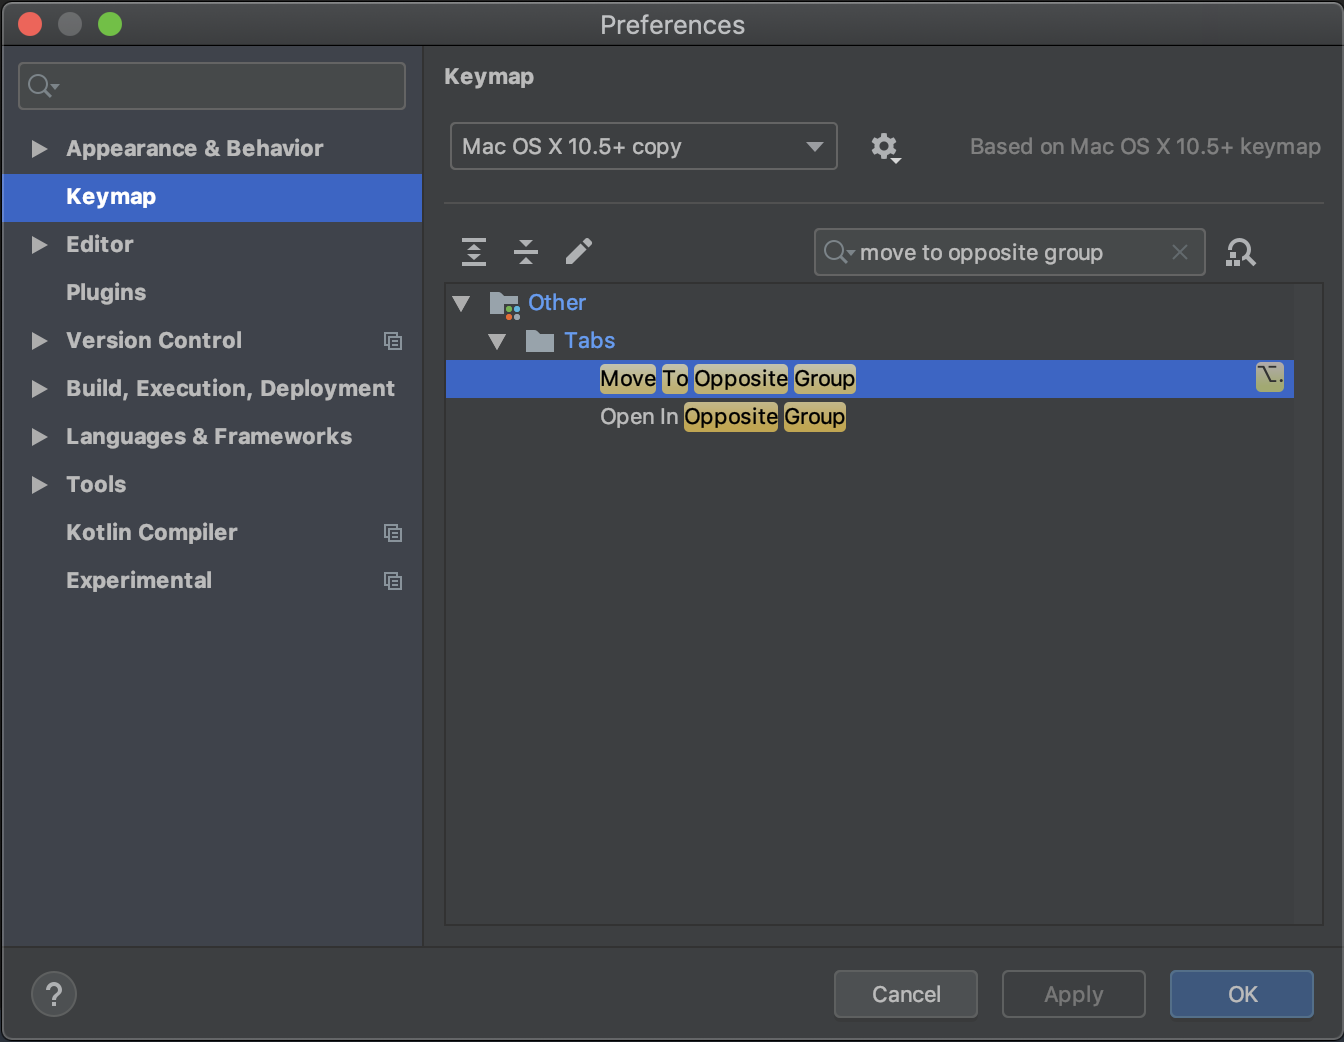
Move to opposite group shortcut
We will use this shortcut to move the currently editing file from one group (side) to the other one.
Usage
Next, let’s see how can we use the shortcuts we’ve just set up. For the sake of this article, we will create a test class and an implementation class that will be used by the class under test. First, we create the test class:
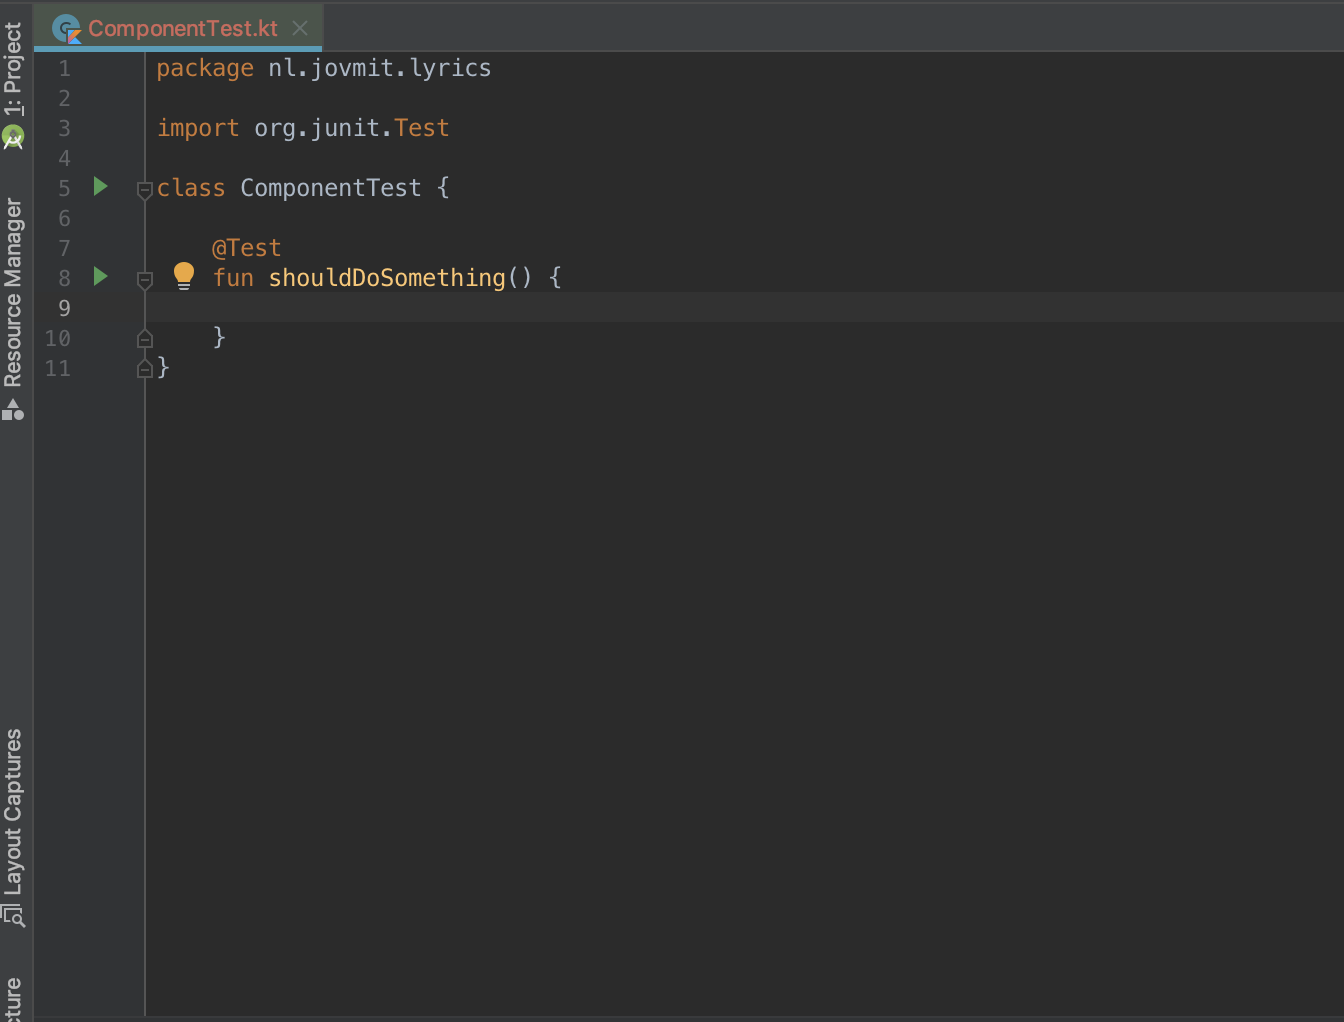
Component test
At this point, we have only that single file opened in the editor. We cannot split the screen now because we have only a single file opened. Split-screen makes sense when there are two or more files that we have to work with at the same time.
Let’s go ahead and create an implementation class that will be used by the class under test:
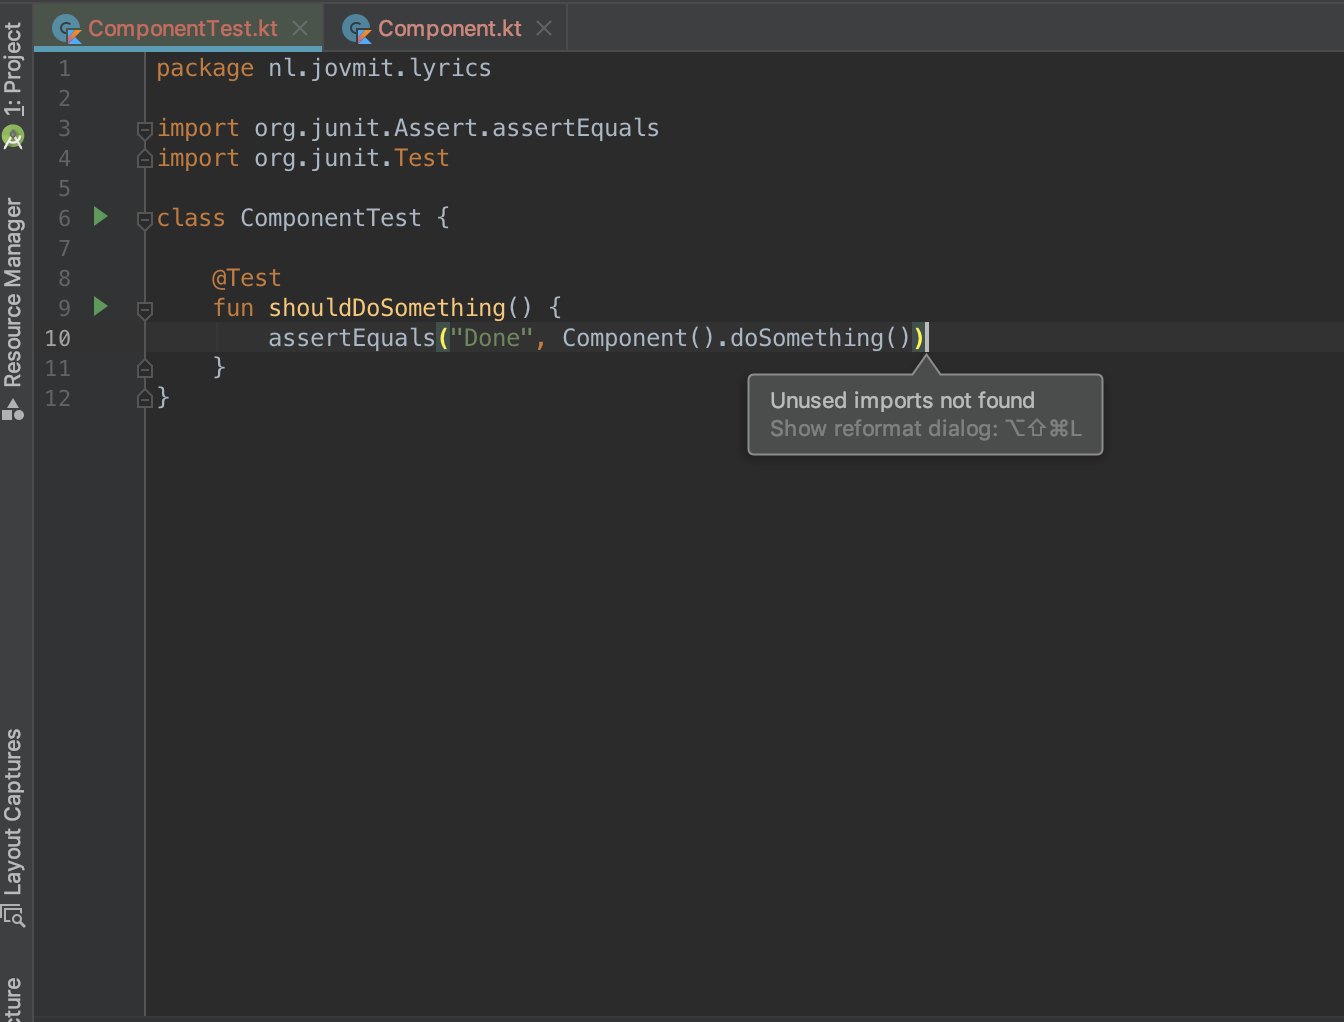
Both files opened
At this moment we have both files opened in the editor, but to work with them, we have to jump from one file into another which is not very handy. That’s where the split-screen comes into power. By using the shortcut we assigned for the move right action we can split the screen vertically. The currently editing file will get to the right side:

Side by side editor
Now, it’s way easier to work with these two files having them side by side. But how do we get from the one side to the other one? - There is an already set keyboard shortcut for that by default: ⌥⇥ (Option + Tab). Just in case the shortcut is not set, or you prefer different shortcut for this action, you can find it under Main menu -> Window -> Editor Tabs -> Goto Next Splitter
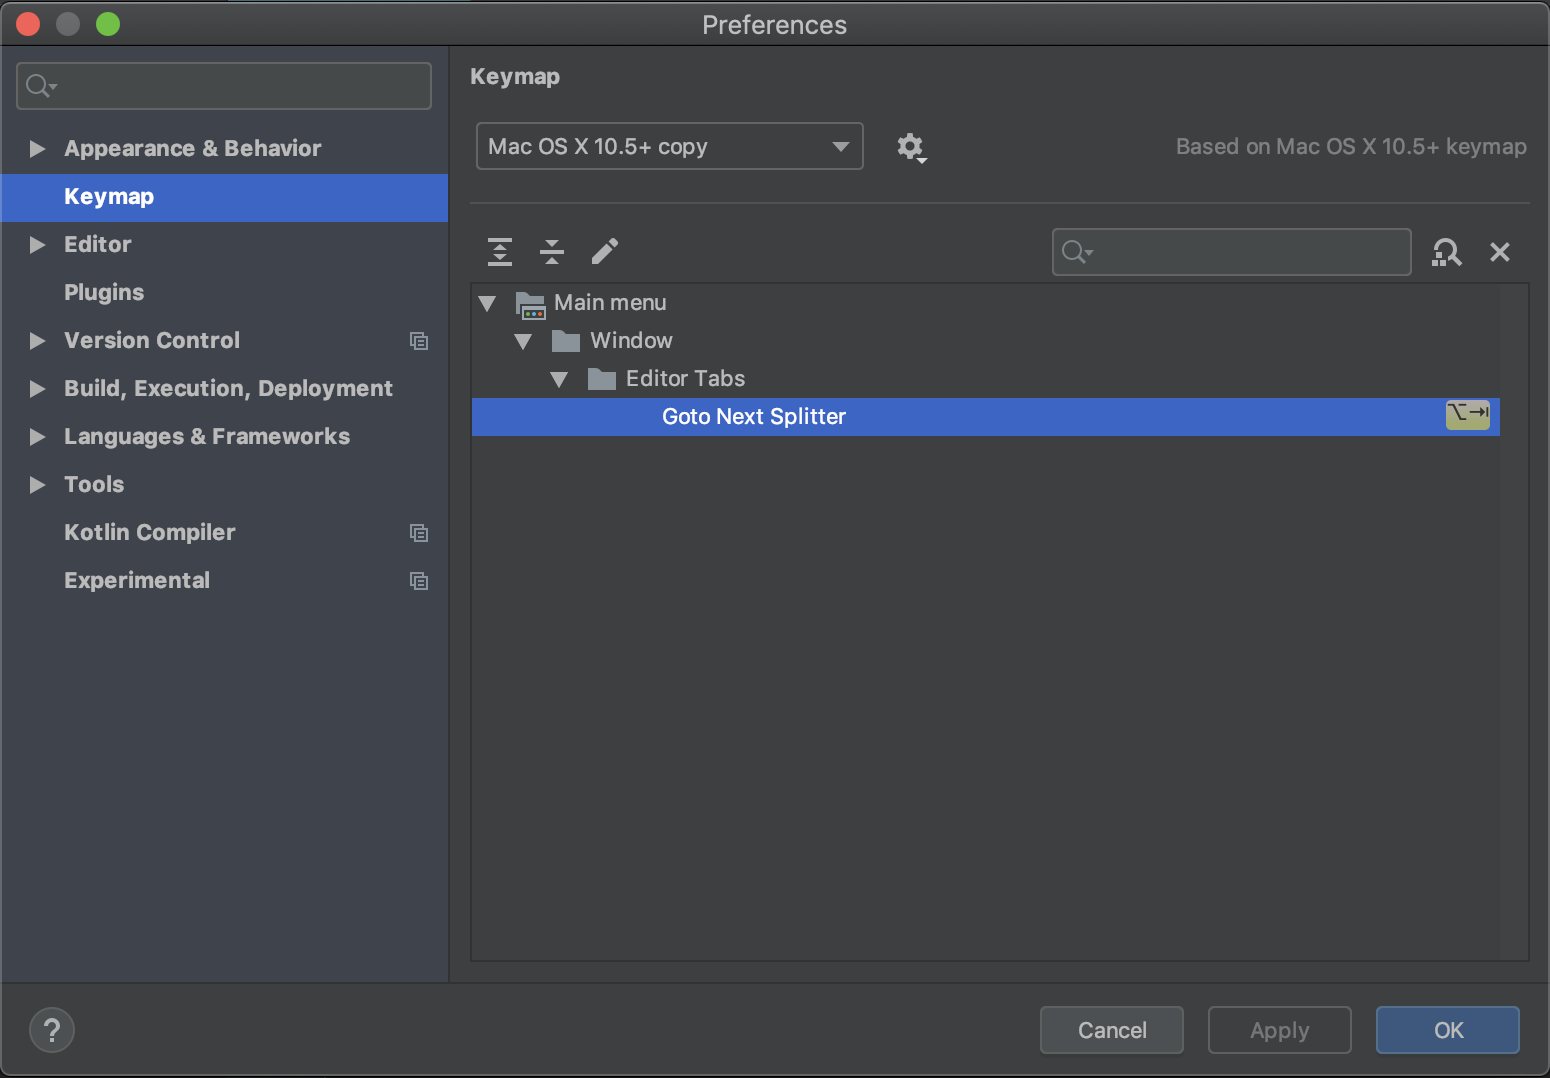
Goto Next Splitter
One more nice shortcut that I personally use quite a lot and I believe is super handy to navigate towards declaration is ⌘b
(Cmd + b). For example, in the test class on the left side we have a function call on the Component type:
Component().doSomething()By moving the cursor anywhere in the doSomething() text and hitting the ⌘b
shortcut we will move the cursor to the declaration of that function, which in this case is on the right side of the editor. You can use this shortcut to go to the declaration of pretty much everything in the IDE.
Very often we need to navigate between the currently opened files (left and right). The shortcuts already set by the IDE are: ⌘⇧] to navigate one file to the right, and ⌘⇧[ to navigate one file to the left. By navigating right from the most right it gets to the very left, and same for the other direction. In case we are in a split mode, the navigation works only in the currently selected group. In case you want to change the default shortcuts for this actions, you can find them under Main menu -> Window -> Editor Tabs as Select Next Tab and Select Previous Tab
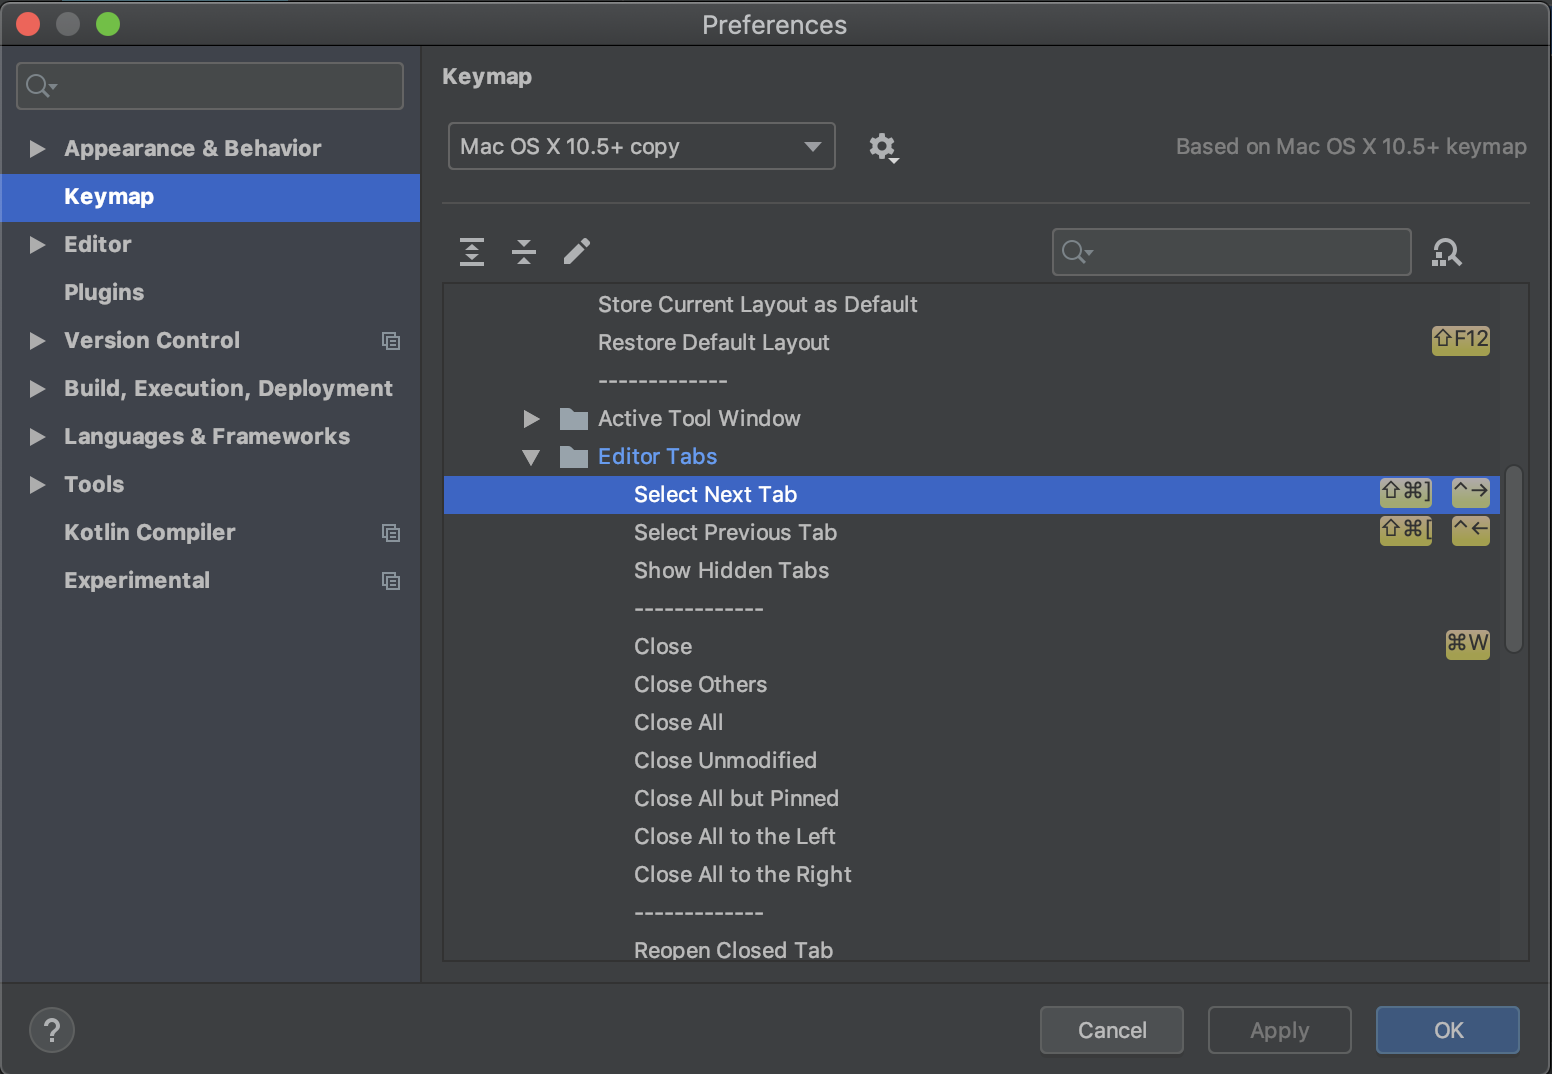
Navigation between opened files
Once we are done editing a file, we can use the ⌘w (Cmd+w) shortcut which will close the file we are editing currently.
I find this setup very useful, and it works very well for me. I hope you try it out and see how would it work for you! Please feel free to reach out and let me know about your experience on Twitter or in the comments below. Make sure you Follow @jovchem so you won’t miss new content.